


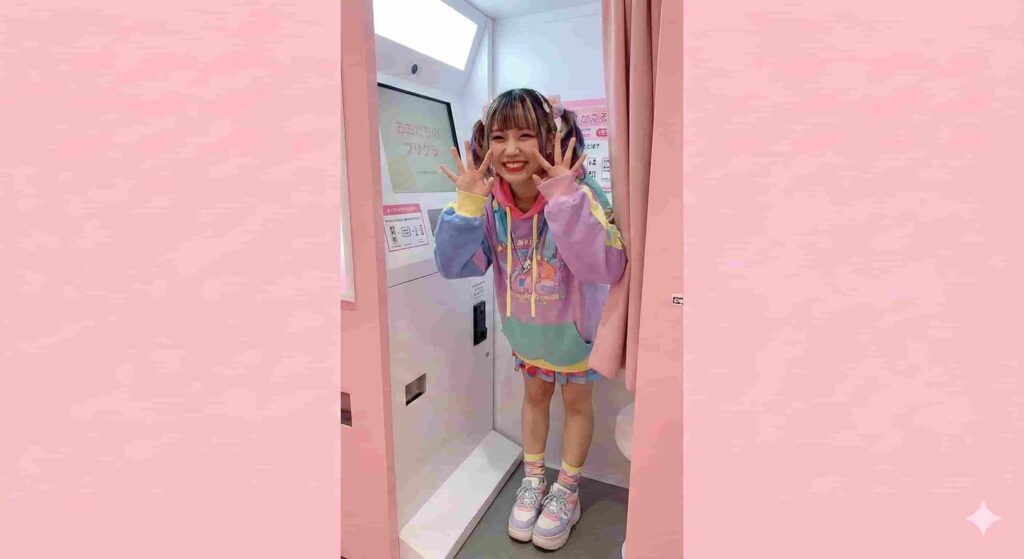
You’ve seen them on TikTok. You’ve seen them on Instagram. Those glossed-over, giant-eyed, impossibly smooth photos that look like you… but anime you. Welcome to the world of Purikura (Print Club).
If you visit Harajuku and don’t take a Purikura, did you even go to Tokyo? But let’s be real: walking into a Japanese game center’s “Puri” zone can be intimidating. The machines scream instructions in rapid-fire Japanese, the timer counts down faster than you can think, and you have exactly 3 seconds to pose before you look like a deer in headlights.
Don’t panic. As your local Gen Z guide, I’m going to break down exactly how to survive the booth, which poses are actually trending in 2026, and the most confusing part of all: how to get the digital files on your phone.
💡 Key Takeaways (TL;DR):
- The Cost: Usually 400-500 yen per play. Bring 100-yen coins, though many machines now accept Suica/Pasmo.
- The Timing: You have roughly 3 seconds per pose. Decide on your poses before you enter the booth!
- The Download: You usually only get 1-2 free digital downloads via QR code. To get them all, you often need a paid Japanese app subscription (Pictlink), but I’ll share a workaround.
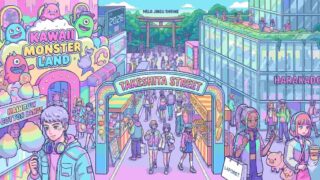
- The Best Spot: Harajuku’s Takeshita Street is the holy land. Look for basements filled with nothing but girls and flashing lights.
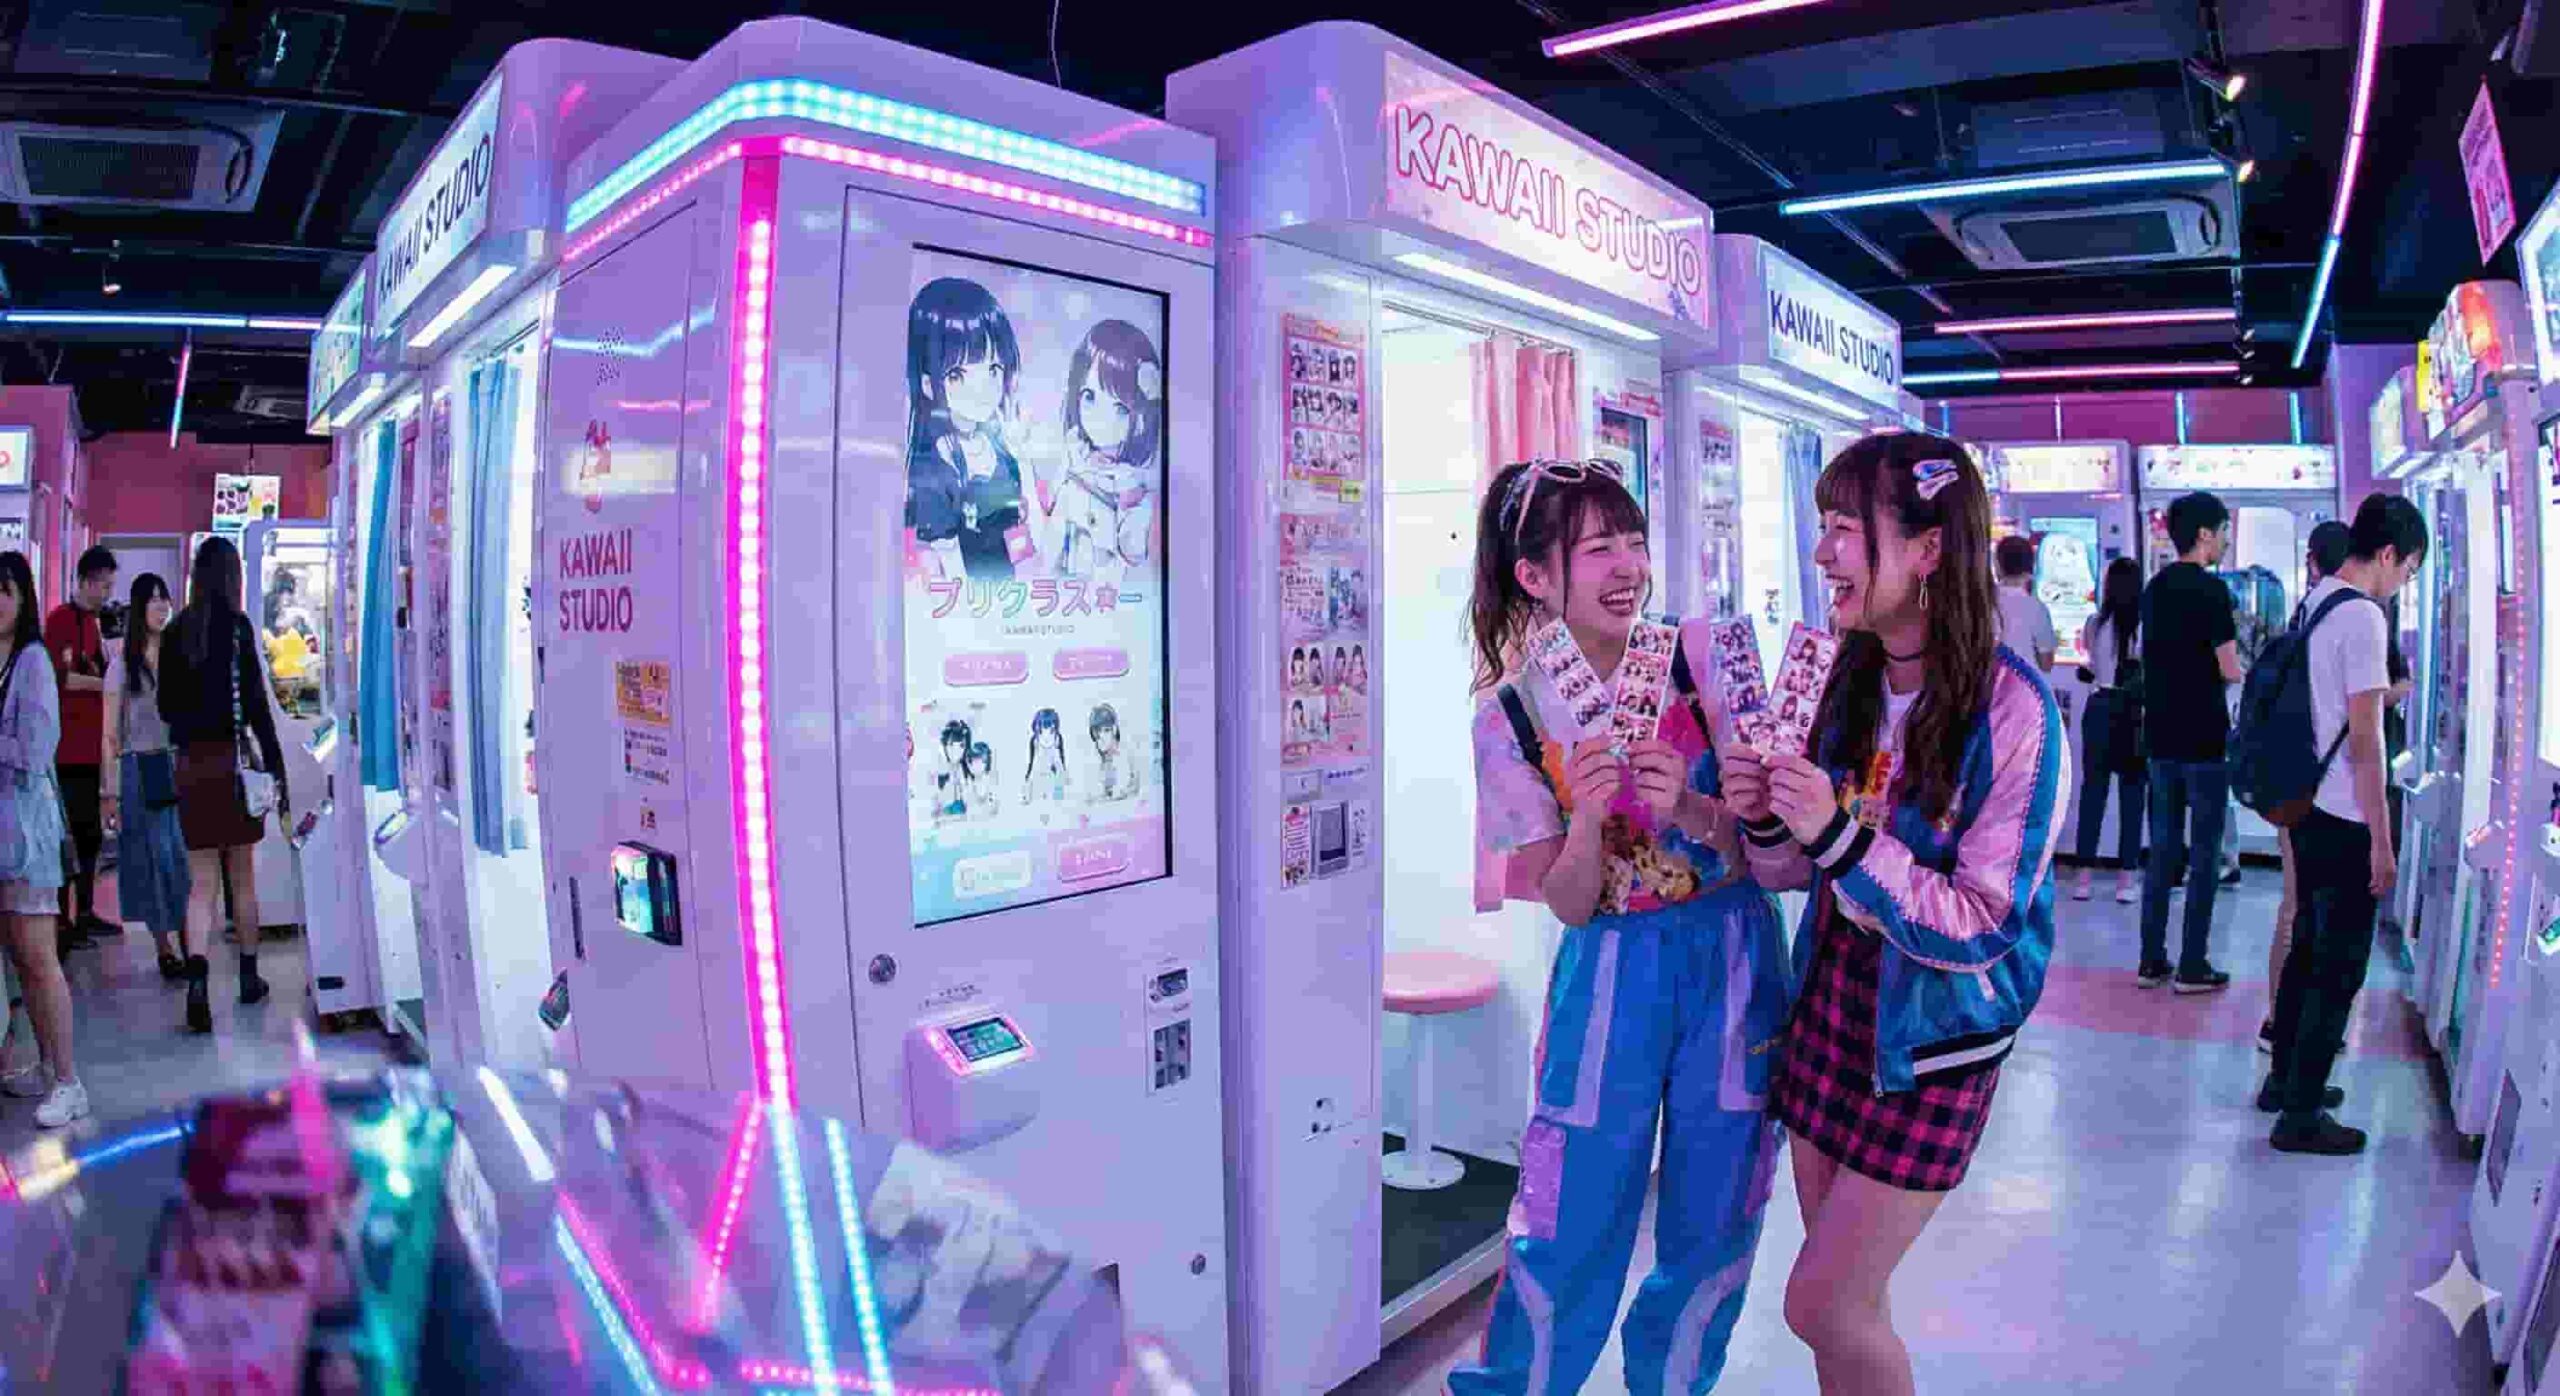
What is Purikura? (It’s Not Just a Photo Booth)
“Purikura” (プリクラ) is short for “Print Club.” Unlike Western photo booths that just snap a raw photo, Japanese machines are complex beauty editors. They automatically enlarge your eyes, smooth your skin, slim your chin, and lengthen your legs.
In 2026, the trend isn’t just about looking “cute”—it’s about looking stylized. The machines, mostly dominated by the company FuRyu, are designed to make you look like an idol or a character. It’s a core part of Japanese “Kawaii” culture and a massive rite of passage for high schoolers (JK) here.
Step-by-Step: How to Use the Machine
Walking into the arcade can be loud and chaotic. Here is your survival workflow.
1. The Entry & Payment
Find a machine that fits your vibe. Some specialize in “White/Clear” skin, others in “Pink/Lovely” vibes.
- Cost: Put in your 400 or 500 yen. (Tip: If you only have bills, look for a money changer machine nearby).
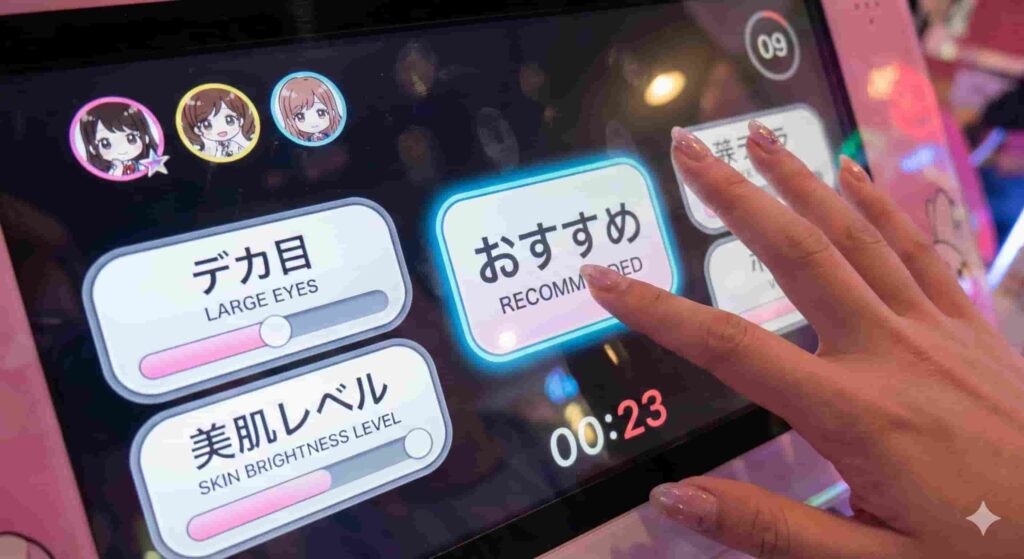
- Selection Screen: You’ll tap through screens selecting your “Course” (background style), eye shape, and brightness. Pro Tip: If you can’t read Japanese, just hit the big colorful buttons—usually the “Recommended” (おすすめ) option.
2. The Shoot (The Chaos Begins)
This is where tourists panic.
- Bag Storage: Put your bags in the tray or on the shelf provided. Do this FAST.
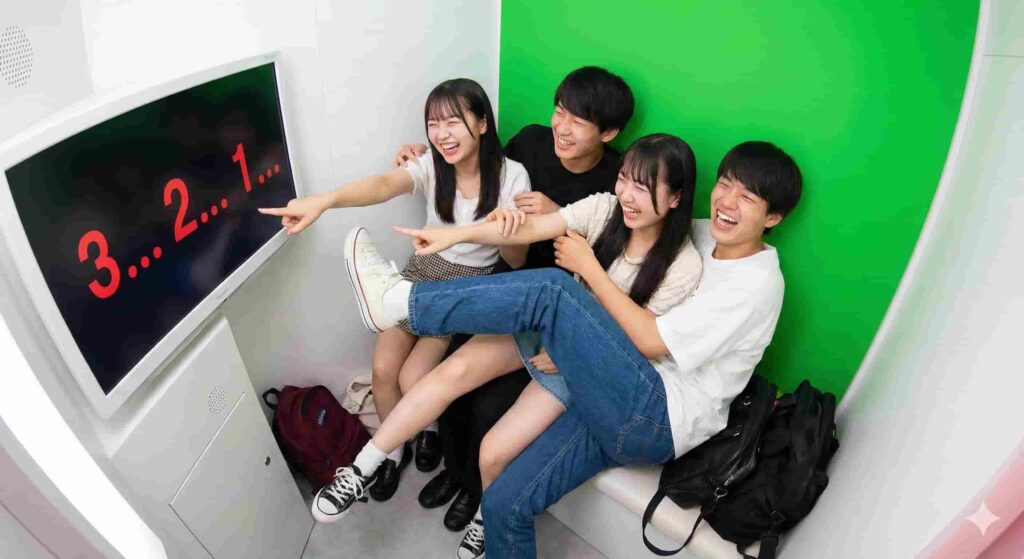
- The Green Screen: You stand in front of a green screen. A monitor will show you a “Model Pose” to copy.
- The Countdown: The machine will shout “3, 2, 1!” followed by a flash.
- Look at the Lens, Not the Screen: If you look at the monitor, your eyes will look down in the final photo. Look at the camera lens (usually indicated by a flashing light).
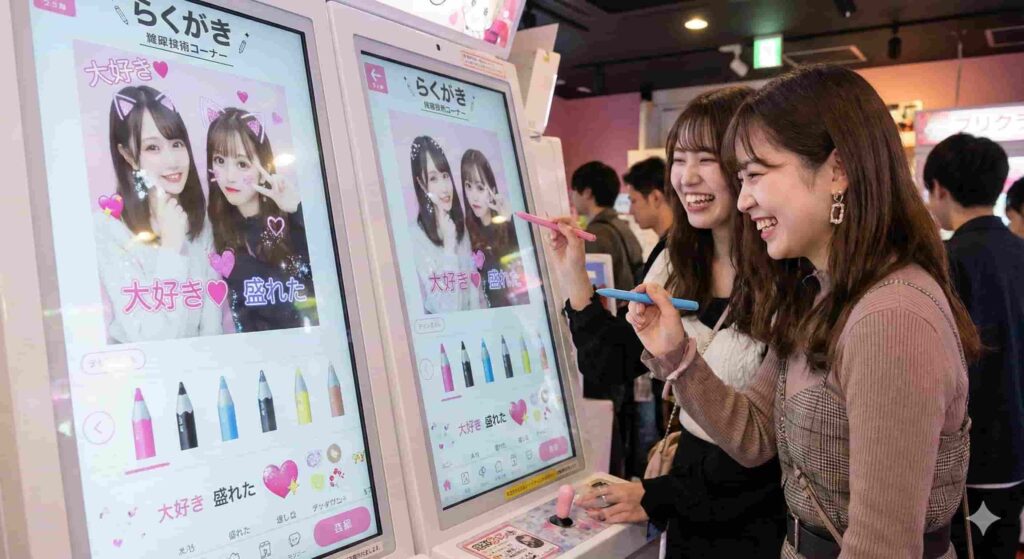
3. The “Rakugaki” (Decoration Time)
After shooting, you move to the side booth for Rakugaki (scribbling).
- The Timer: You have a limited time (usually 2-3 minutes) to decorate.
- Tools: Use the stylus pen to add stamps, dates, cat ears, or write text.
- Makeup Features: You can digitally add lipstick, blush, or even change your eye color here if the camera didn’t catch it enough.
5 Trending Poses You Need to Know (2026 Edition)
Don’t just stand there with a peace sign! If you want to blend in with the locals, you need to know the current meta. Based on what’s trending with Japanese high schoolers (JKs), here are the poses you should try.
1. The “Gyaru Peace” (ギャルピース)
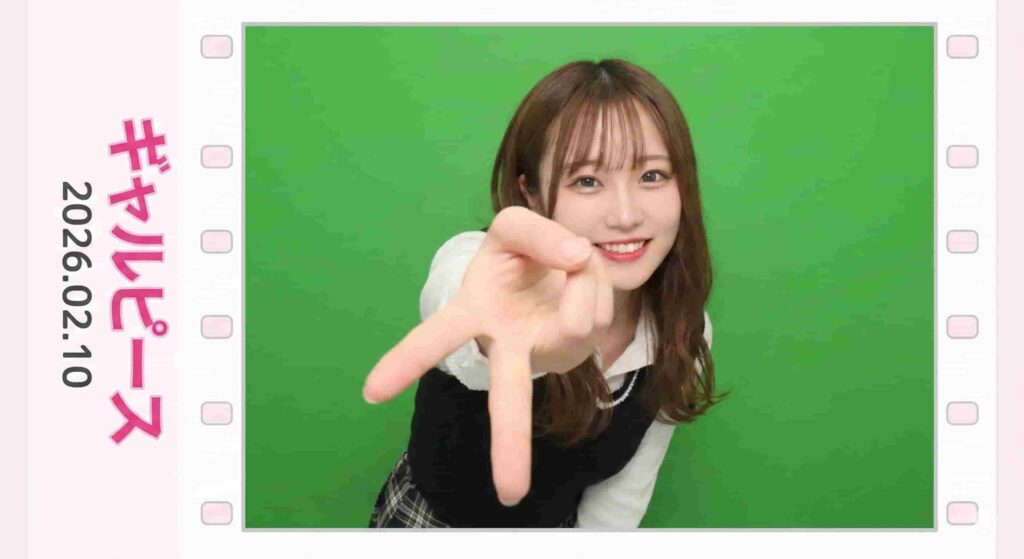
This is a revival from the 90s/00s but modernized.
- How to do it: Make a peace sign, but turn your palm upwards and flip your hand upside down. Push it towards the camera.
- Why it works: It makes your arms look longer and gives a retro Y2K vibe.
2. The “Chuki Chuki” (ちゅきちゅき)

Popularized by idols, this is the ultimate “cutesy” pose.
- How to do it: Close your fingers into a peace sign, bend them slightly, and dig your fingertips into your cheek. Tilt your head toward the hand.
- Why it works: It hides part of your cheek (slimming effect!) and looks adorable.
3. The “Luda Heart” (ルダハート)

Named after a K-Pop idol, this is for the heart lovers.
- How to do it: Use both hands to pinch your cheeks, forming a heart shape around your cheeks with your fingers.
- Why it works: It squishes your face slightly for a “baby face” look and frames your smile perfectly.
4. The “Chin Hide” / Toothache Pose (虫歯ポーズ)

Classic but effective.
- How to do it: Place one hand flat against your jawline/cheek, as if you have a toothache.
- Why it works: It physically hides your jawline, making your face look smaller (Small Face Effect / Kogao).
5. The “Muffler” / “I’m Cold” Pose

Great for couples or close friends.
- How to do it: Burry your chin into your scarf (or pretend to). Pull your sleeves down over your hands so only your fingers poke out (萌え袖 – Moe-sode).
- Why it works: It emphasizes vulnerability and cuteness.
⚠️ Note on “Eye Contact”: Some machines now have “Eye Contact” features where the camera moves. Always track the lens!
The Hard Part: Downloading Your Photos
This is the #1 complaint I hear from tourists: “I paid, but I didn’t get the photos!”
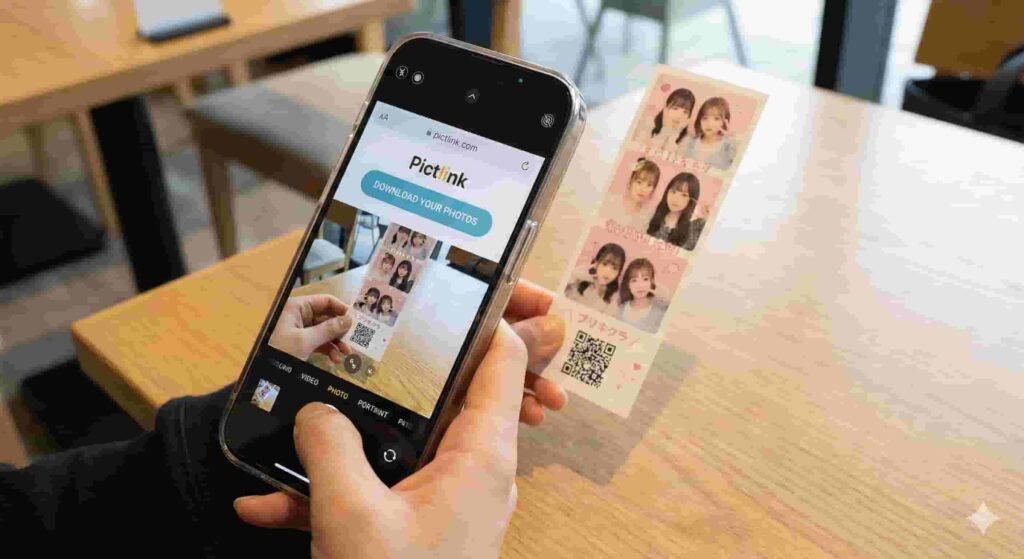
Here is the harsh truth: The printed sticker is the main product. The digital files are a “bonus,” and usually, you only get one or two free digital images via the QR code on the sticker sheet.
How to Download (The Standard Way)
- Grab the Sticker: After decorating, wait outside the booth for the machine to print your sheet.
- Scan the QR Code: Use your phone camera to scan the code printed on the sticker sheet.
- The Website: It will take you to a site (usually “Pictlink” by FuRyu).
- Free vs. Paid: You can usually select 1 photo to download for free (sometimes 2 if you provide an email). To get all the photos, you typically need a monthly subscription (approx. 400 yen/month) to the service.
The “Gen Z Tourist Hack”
If you don’t want to sign up for a Japanese subscription service (which can be hard with foreign credit cards):
- Select your absolute favorite for the free download.
- “Digital Pickup”: Some newer machines allow you to send data via Line or email directly, but this varies.
- The “Picture of a Picture”: It sounds low-tech, but many people just take a high-quality photo of the printed sticker sheet with their phone. It’s authentic and free.
ALSO READ: Essential Emergency Numbers & Phrases for Tourists in Japan – Keep this handy in case you lose your wallet in the arcade!
Best Places to Purikura in Harajuku
Harajuku is the battlefield of Kawaii. You want to go where the machines are new and well-maintained.
1. Takeshita Street (The Main Hub)
Walk down Takeshita Street and you will see multiple basements with signs screaming “PURI”.
- Why here: Highest concentration of machines.
- Vibe: Crowded, loud, extremely energetic. You will be surrounded by local high schoolers.
2. Harajuku Game Centers
Look for major chain arcades like Namco or Taito Station. They often have dedicated floors for Purikura.
- Namco: Often has “Cosplay Rental” services where you can rent a school uniform or maid costume for the shoot.
- Why here: They have “Powder Rooms” (makeup counters) with hair irons you can use before you shoot!.
ALSO READ: 10 Must-Do Things in Harajuku for First-Time Visitors (2026 Edition) – Plan your full day around your Purikura session.
Pro Tips for the Best Results
- Wear Light Colors: White or pastel tops reflect light onto your face, making your skin look better. Black can sometimes make you look a floating head against the background.
- Hair Prep: Use the rental hair irons in the arcade before you enter the booth. Humidity in Tokyo kills bangs; fix them first!.
- Don’t Wear Green: You are standing in front of a green screen. If you wear green, your body will disappear and you will become a floating head (unless that’s the look you want).
ALSO READ: The Ultimate Guide to Japan’s Game Centers: Complete Rules, Etiquette, and How to Play – Learn the manners before you go!
Final Verdict
Purikura is confusing, fast-paced, and sometimes expensive if you mess up. But holding that tiny sticker sheet at the end? It’s the ultimate souvenir. It captures the vibe of your trip better than any high-res landscape photo ever could.
So grab your bestie, practice your “Gyaru Peace,” and head to Harajuku. Just remember: Eyes on the camera, not the screen!